REBELS Onset & Filming
Introduction
We had two phases to our onset production. The first was prepping our equipment, getting used to cameras, and planning our shots. The second was the actual shoot days where we filmed all our footage and captured our scans.
Our BTS video goes over how these phases went.
Phase 1 (Preparation)
Our preparation began about 2 weeks before our shoot date. We wanted to make sure that we had and were familiar with all our equipment, as well as have figured out a solid plan for our shooting days.
Camera & Kits
Alot of our equipment was rented from Bournemouth University. Most of our team had used the equipment before, so it was relatively easy to get to grips with it again.
The Camera
We had a long discussion about what camera we should use for filming. Originally, we wanted to use the university’s Panasonic VariCam LT. However, we quickly realised that it would be too large, heavy, and complicated for us to use effectively.
We instead stelled on the Panasonic Lumix S5, a smaller camera that still had great video quality but gave us move freedom of movement. We rented 2 from the university, one for shooting and the other for HDRI capture, scans, and BTS photography.
Extra Equipment
We also used the university’s tripods, ZHIYUN Crane 2 and a Spyder Color Checker Chart.
Chris and Harvey also brought their Pentax K500 and Sony 6100 to use for scans and BTS photography.
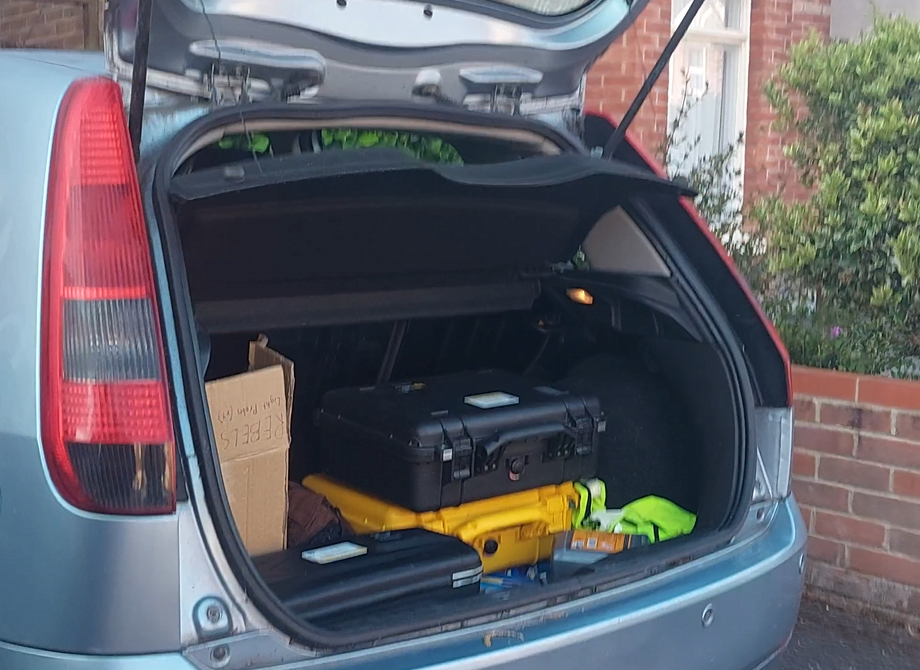
The equipment was all able to fit inside of Tim’s car.
The Light Probe
Sadly, Bournemouth University did not have a light probe available for us to rent. And to horror, the price of a new one was way beyond any of our budgets.
We decided that it would be better to go for the £60 alternative (£15 per person, 4 balls).
After doing some research, we found our light probes would need to meet the following requirements:
- Be a perfect sphere
- Be highly reflective (Chrome Ball)
- Have 18% reflectance (Grey Ball)
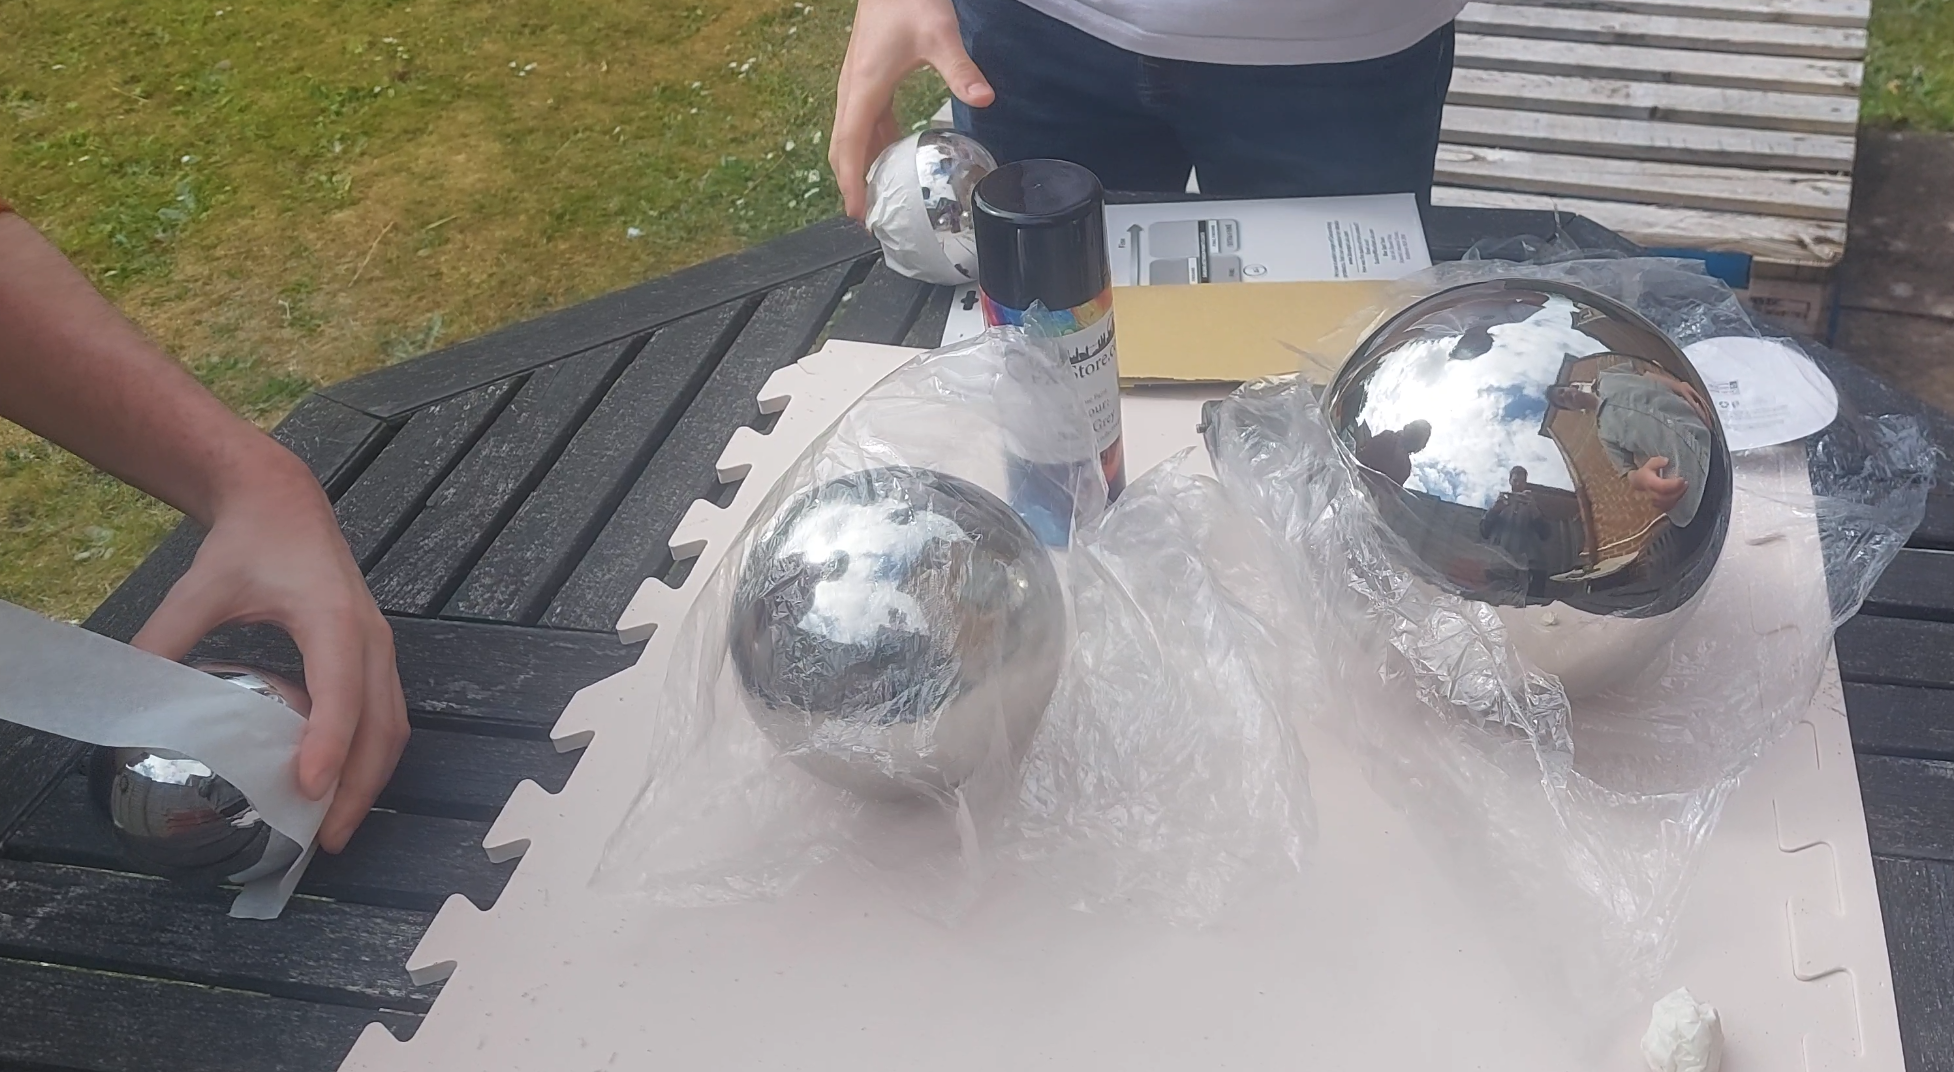
The Reflective Spheres
Luckily, we were able to knock of two of those requirements quite easily. We were able to spend £20 on 4 Garden Chrome balls (20cm, 15cm, 10cm, 10cm) from Amazon. Although not perfectly round (they had a seam running down the centre), it was good enough to fit our needs.
The 18% Reflectance
Originally, our plan was to go to the nearest hardware store and find and grey paint that was close to 18% reflectance. However, after some searching online we found that for £20 we could get the “VFX Balls Grey” from VFX Store. We decided “Why not?” and ordered a can.
Extras
We also needed a way to mount the balls. I bought 1/4” barrel nut adapters (which fit most standard tripods) for £5, some masking tape (£1), super glue (£2), and course sandpaper (£2).
The Build
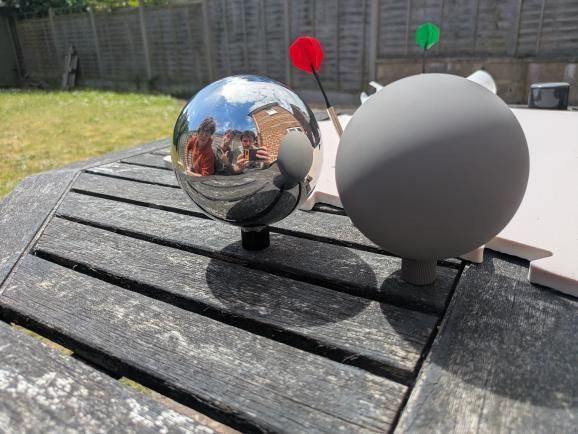
Many probes that you see online are split half reflective and half matte. We decided to do this for our 20cm and 15cm, whilst having fully reflective and fully matte 10cm balls
The first required us to tape off half the sphere. The covered half was left reflective, while the exposed would be matte grey (We taped along the seam of the ball, so that it wouldnt distort our reflections as much).
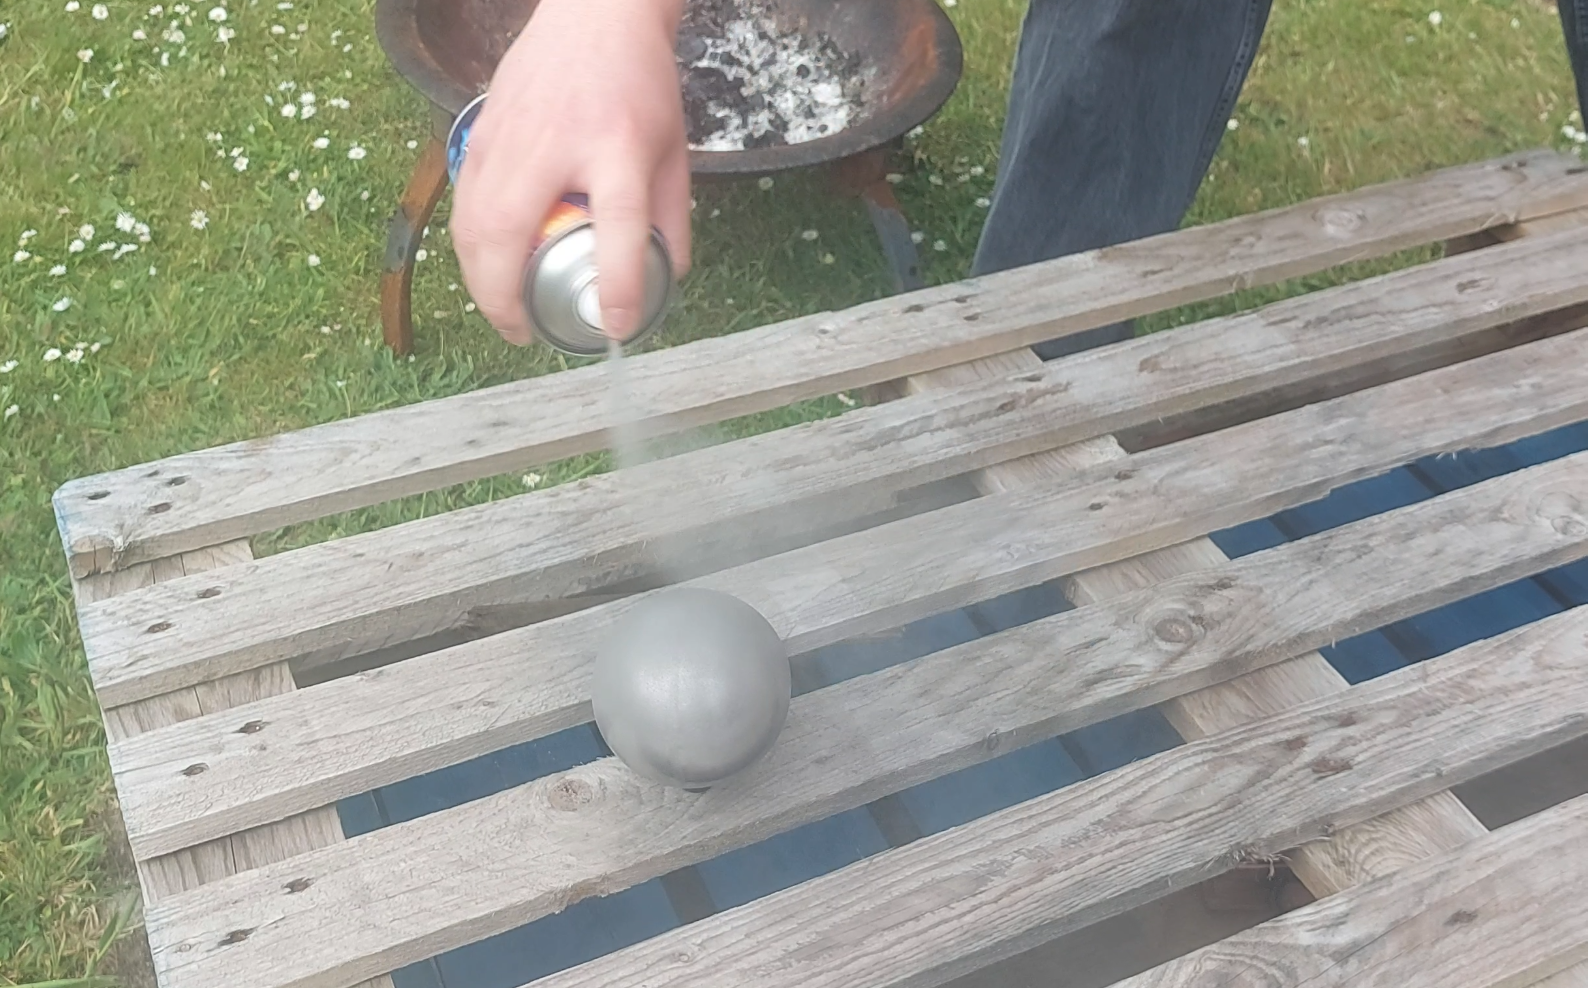
The Matte Side
For the matte side, we first sanded down the surface to give the paint something to grip onto. We then applied 2-3 coats of the VFX Balls Grey to make sure that everything was covered. After that we left the paint to dry for 10 minutes and then came back and peeled off the tape (carefully!).
We found that the paint would peel of quite easily if scratched, so be careful when handling the matte sides.
The Adapters
For the adapters, we sanded down one end to attach to the balls. Then, we folded some tissue paper and cut a circle to fit nicely within the end (This paper turns into a paste when superglued, helping the adapter stick better). We then superglued the adapter to the base of the ball and left it to dry.
The Finished Probes
It took as about an hour to figure out how to make the probes. However the job could probably be done in shorter.
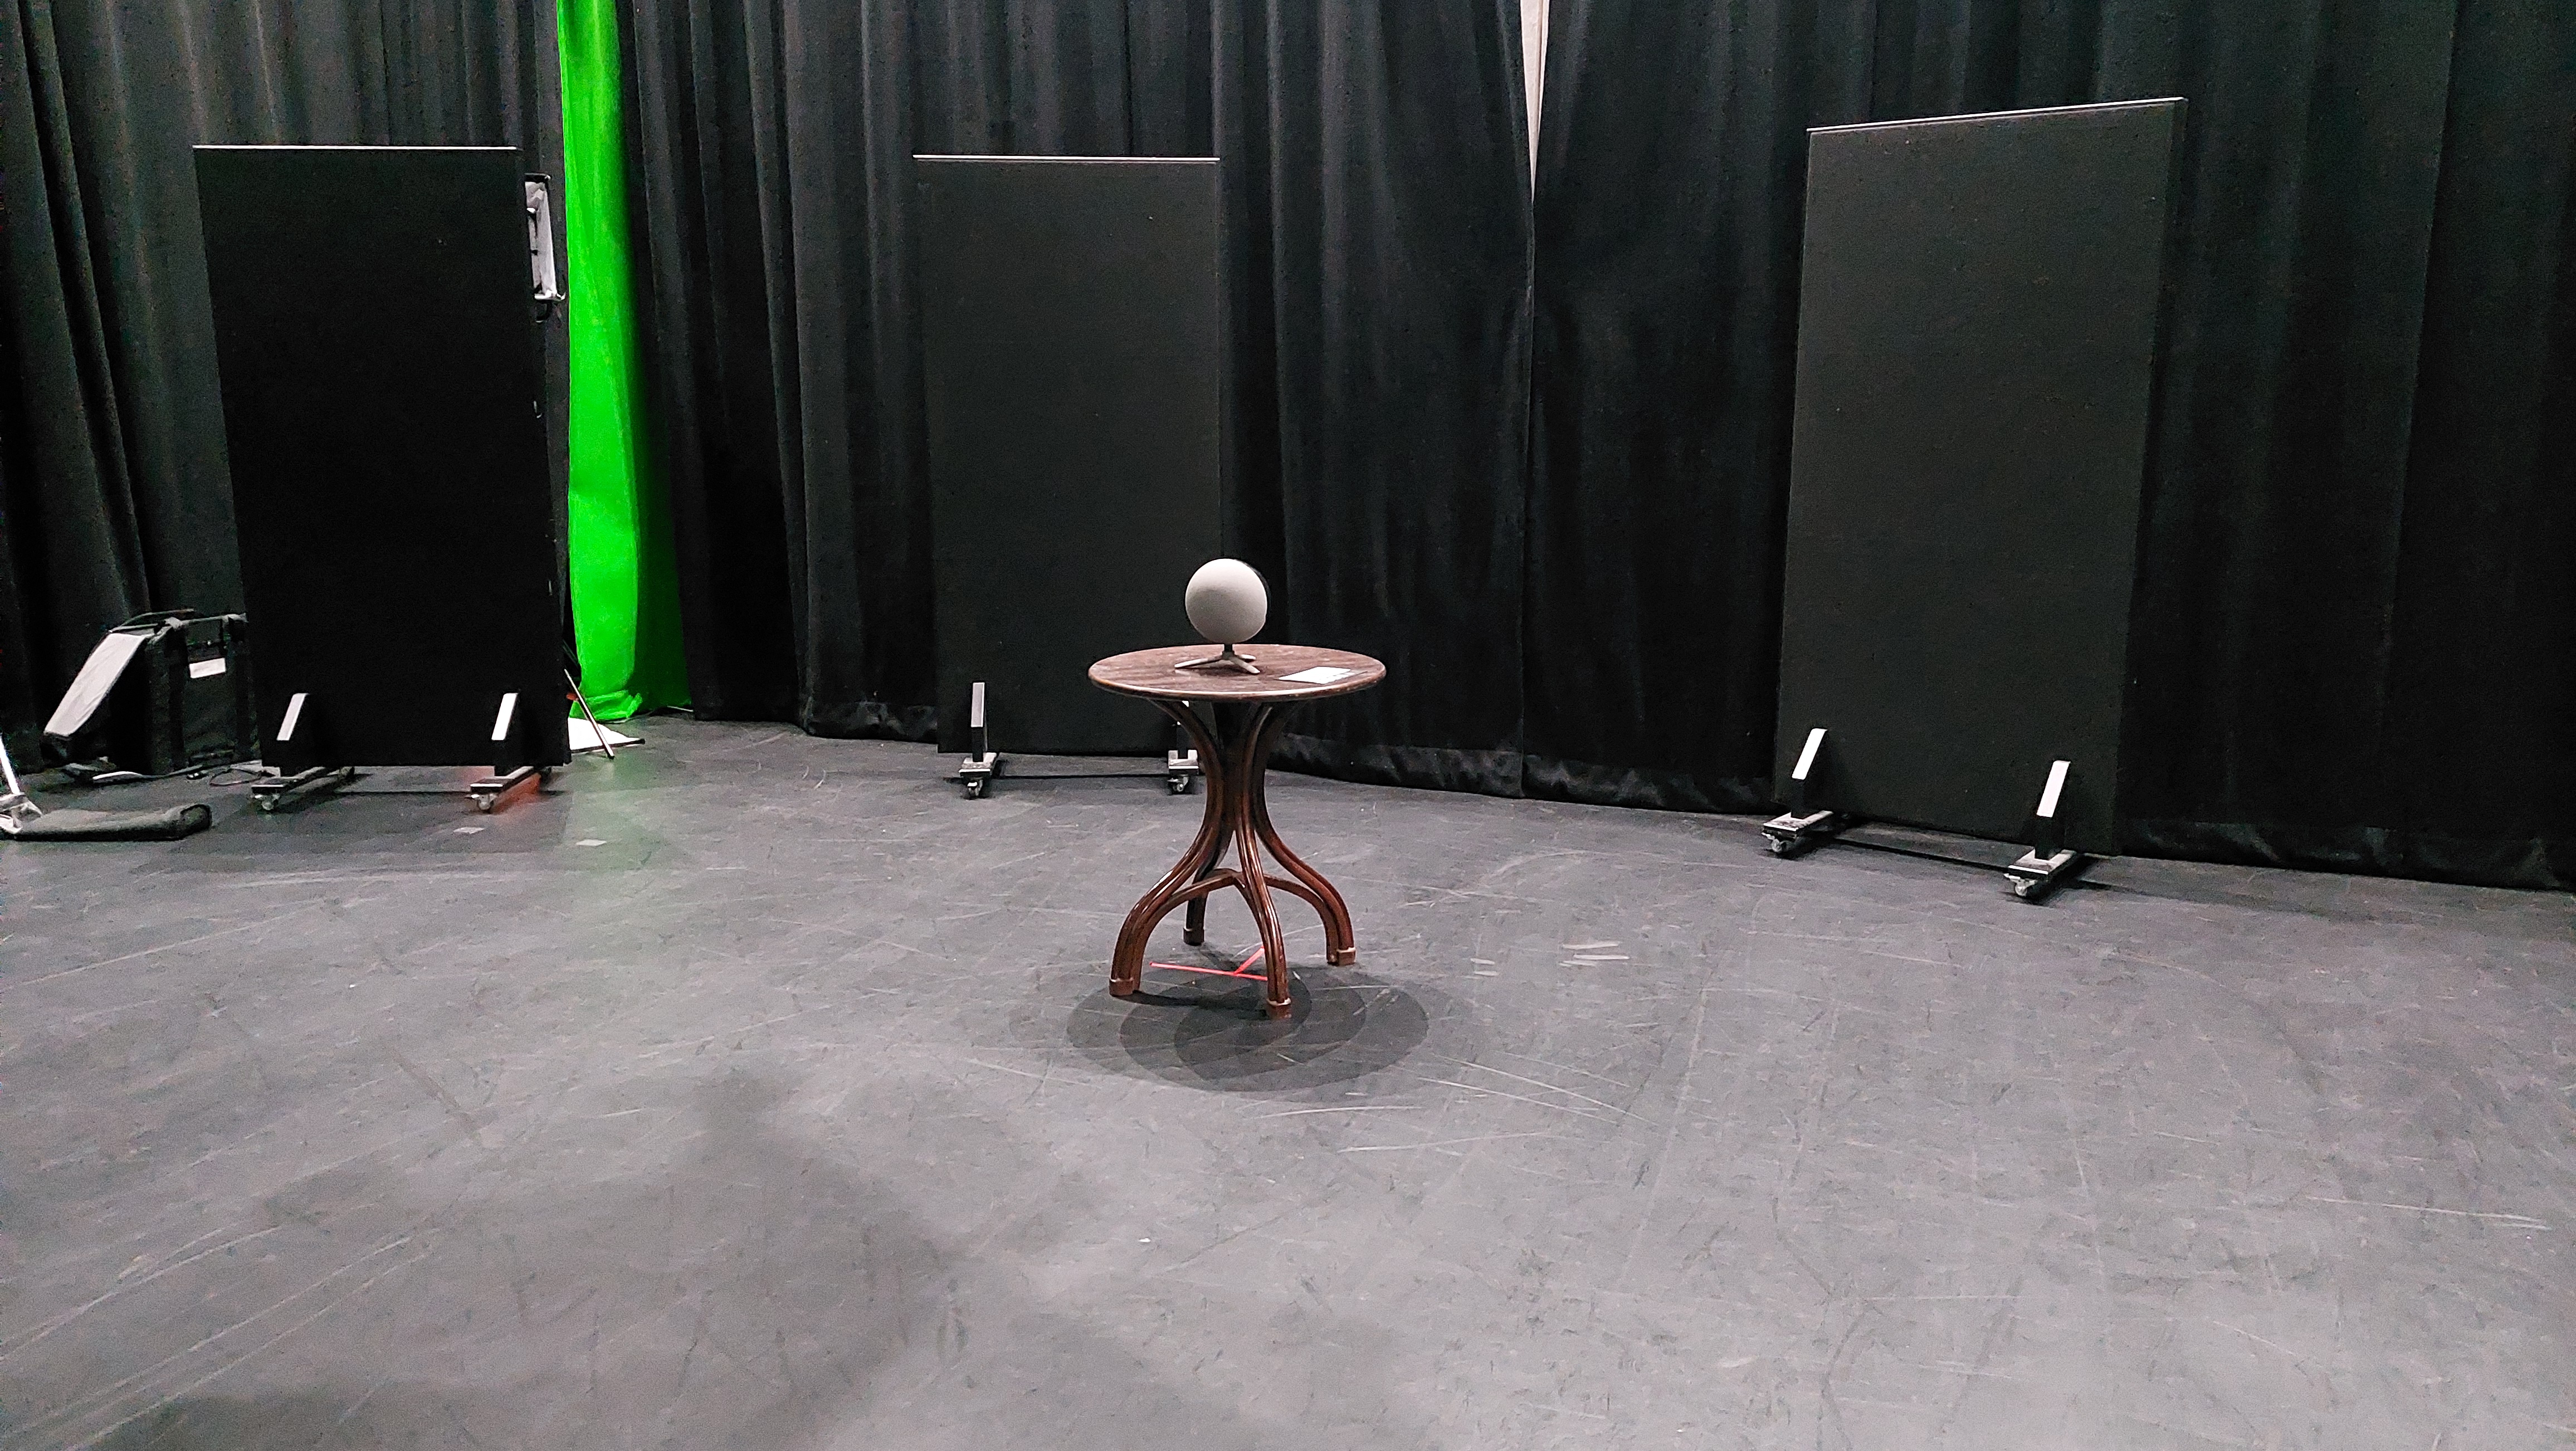
Lookdev & Prep
We also spent two days prior creating a custom lookdev scene as well as doing some outdoor camera tests. However, we ended up not using our Lookdev scene as a more reliable Cave Academy Lookdev Scene was released, however it was good fun to make.
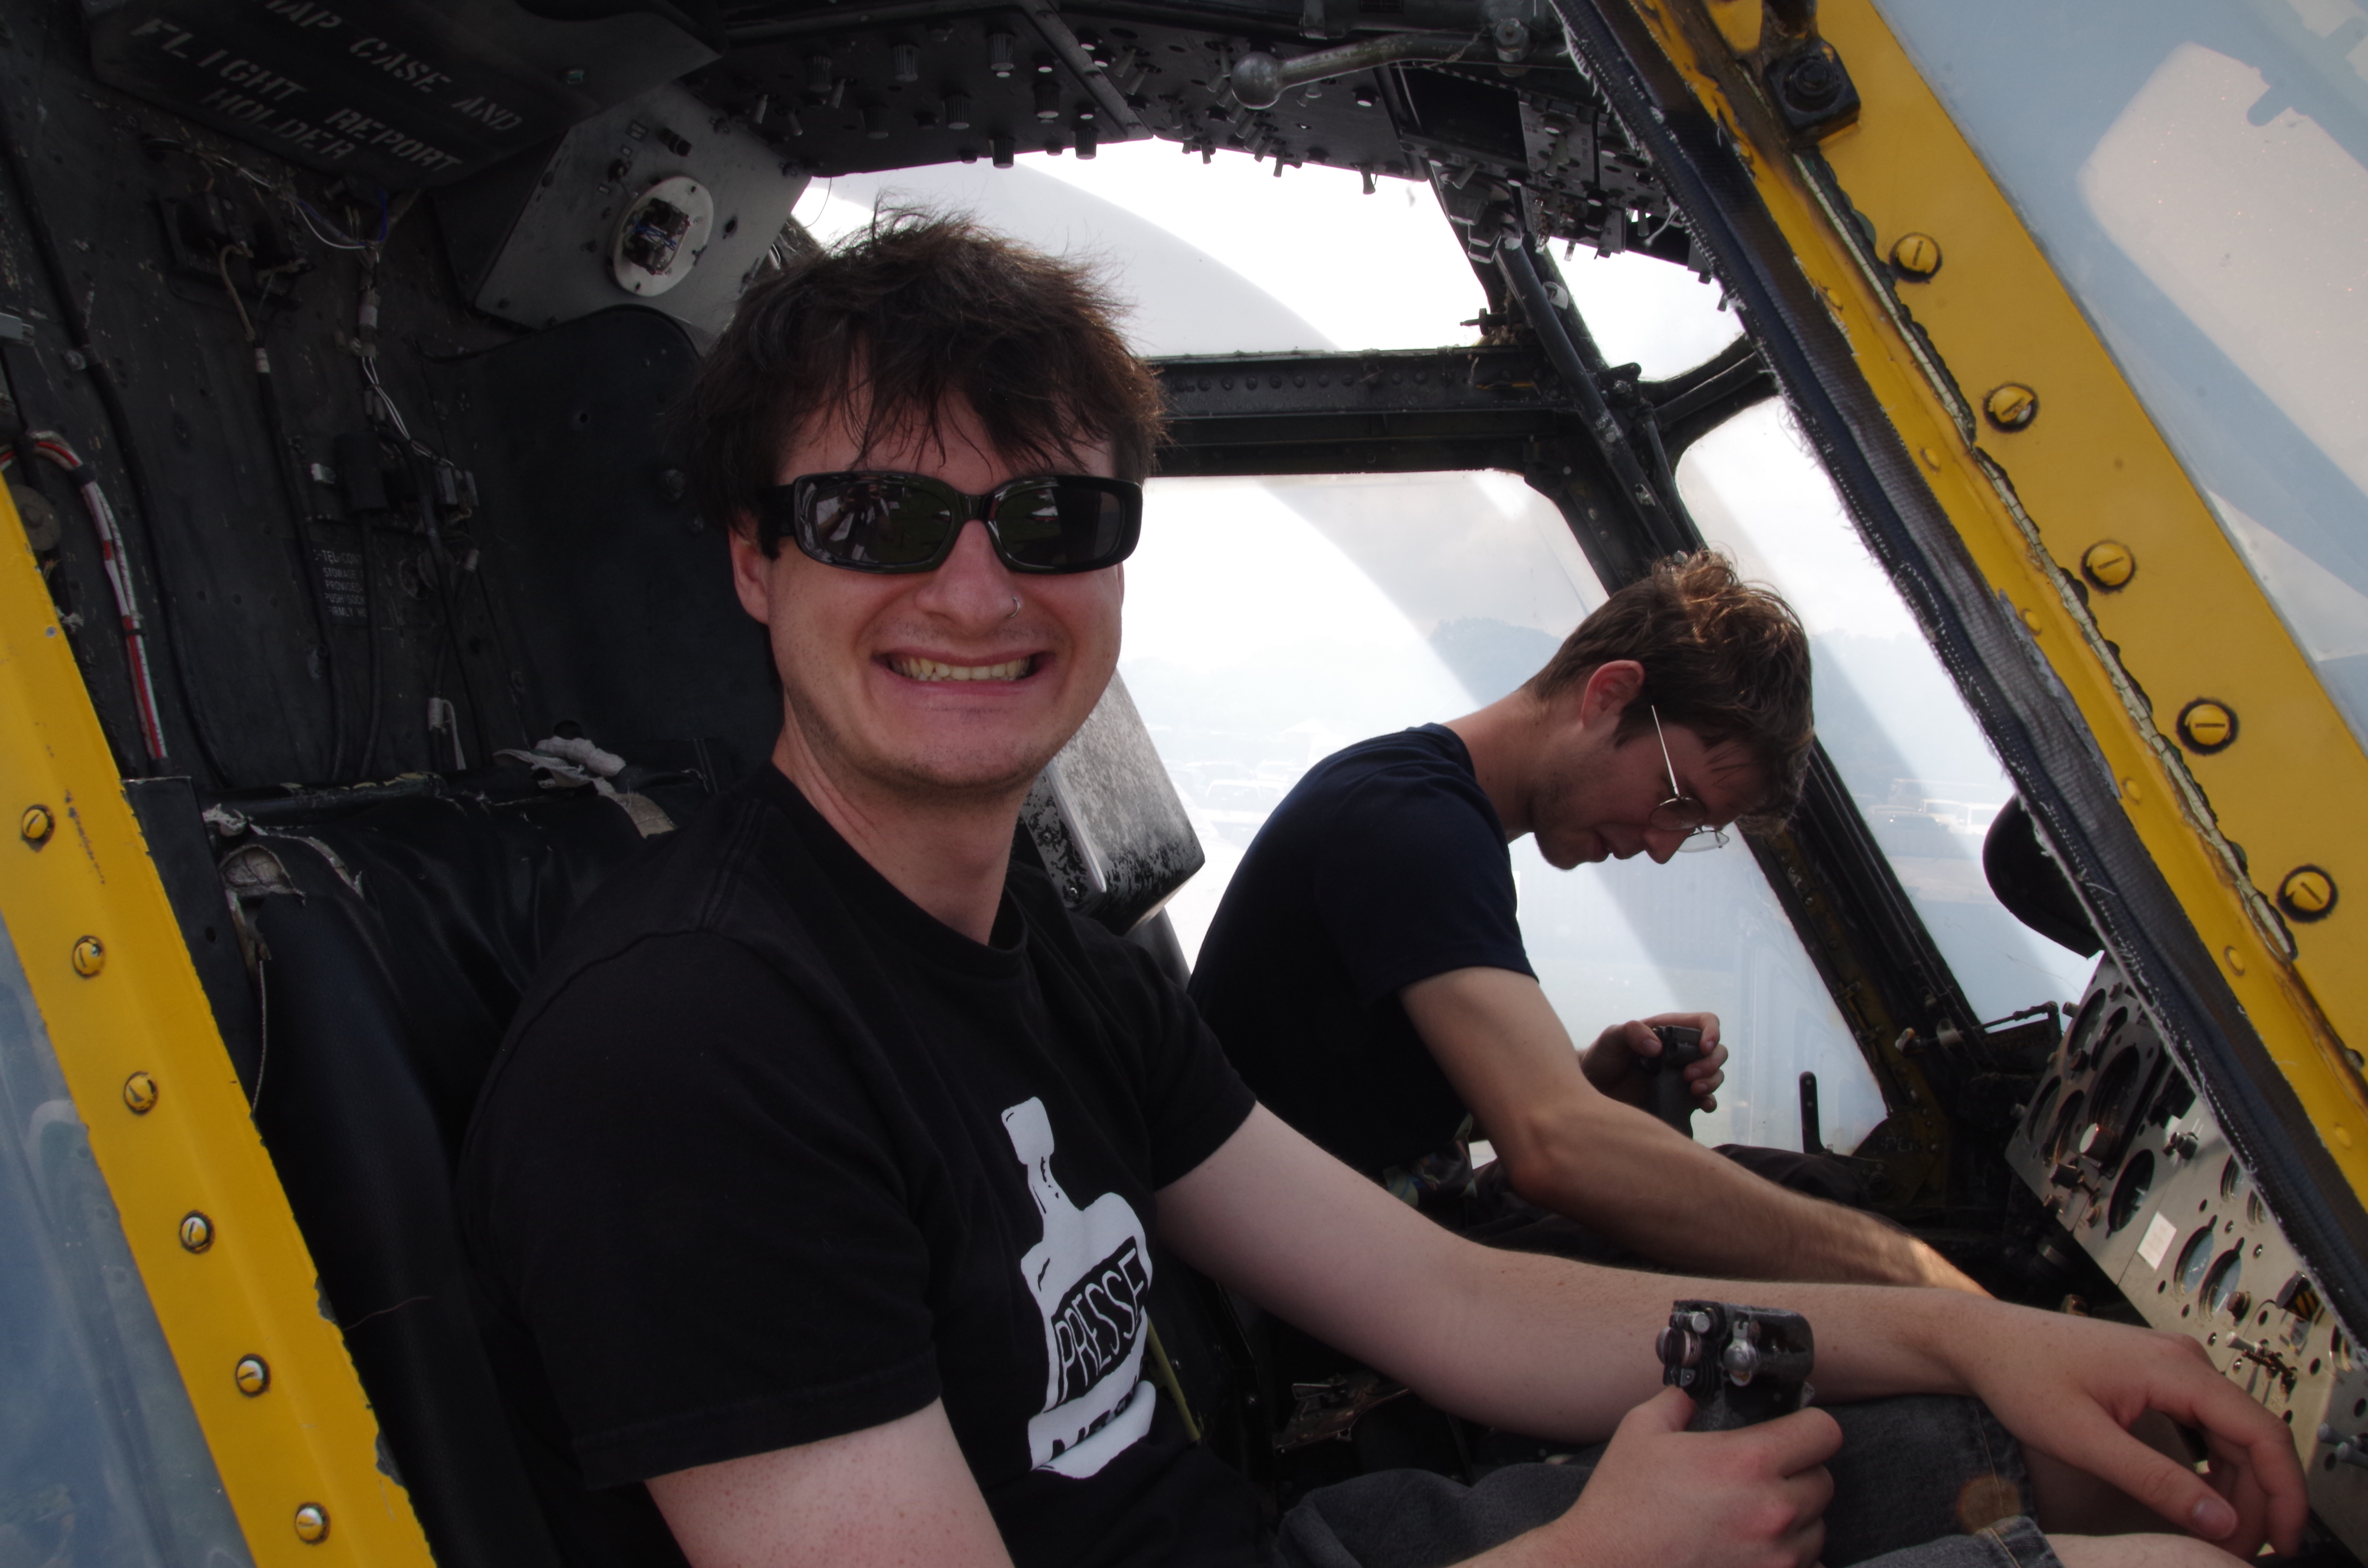
Bournemouth Aviation Museum
Although this came after our main shoot, we also visited the Bournemouth Aviation Museum to gather nice metal reference as well as other bits and bobs. Being able to sit in old planes gave us a feel for the mood of our assets and further refine the concept art (It was also lots of fun).
Phase 2 (Shoot)
Our shoot spanned over two days (June 9-10, 2025)
Ideally, we wanted one day was for capturing our footage, and the other day for scanning, texture grabbing, and getting reference.
However, due to weather, time, and camera issues we ended up spending both days doing both.
We left Bournemouth at 7:30am to get to Cheddar for 10. We would then film for the whole day (with breaks), and then return back to Bournemouth for 10pm.
We all had our own responibilities onset, although roles were often juggled by all of us:
- Timothy Courtice | Lead Camera Operator
- Harvey Hamilton | Cinematographer
- Christopher Hosken | Producer & BTS Photographer
- Felix Wright | VFX Supervisor
Scanning
Scanning was done in the early mornings when the sun hadn’t illuminated the gorge. We scanned the perimeter of the gorge as well as some of the key elements that our characters would interact with: such as the Cave Entrance, Rock Slab, and Rock Bench.
We used a diverse set of cameras to get the scanning done. For some assets, we experimented with using PolyCam. However we found their quality to be nowhere near to what our cameras captured.
We also measured the areas we scanned. This was extremely important as we wanted our digital scans to match the scale of the real world objects.
We processed our scans using Agisoft Metashape Pro, which were then converted into USD assets in Houdini.
Filming
Overall, we ended up shooting 3 versions of the film: morning, cloudy, evening. We then mix and matched to get the best looking edit (that still has consistent lighting!)
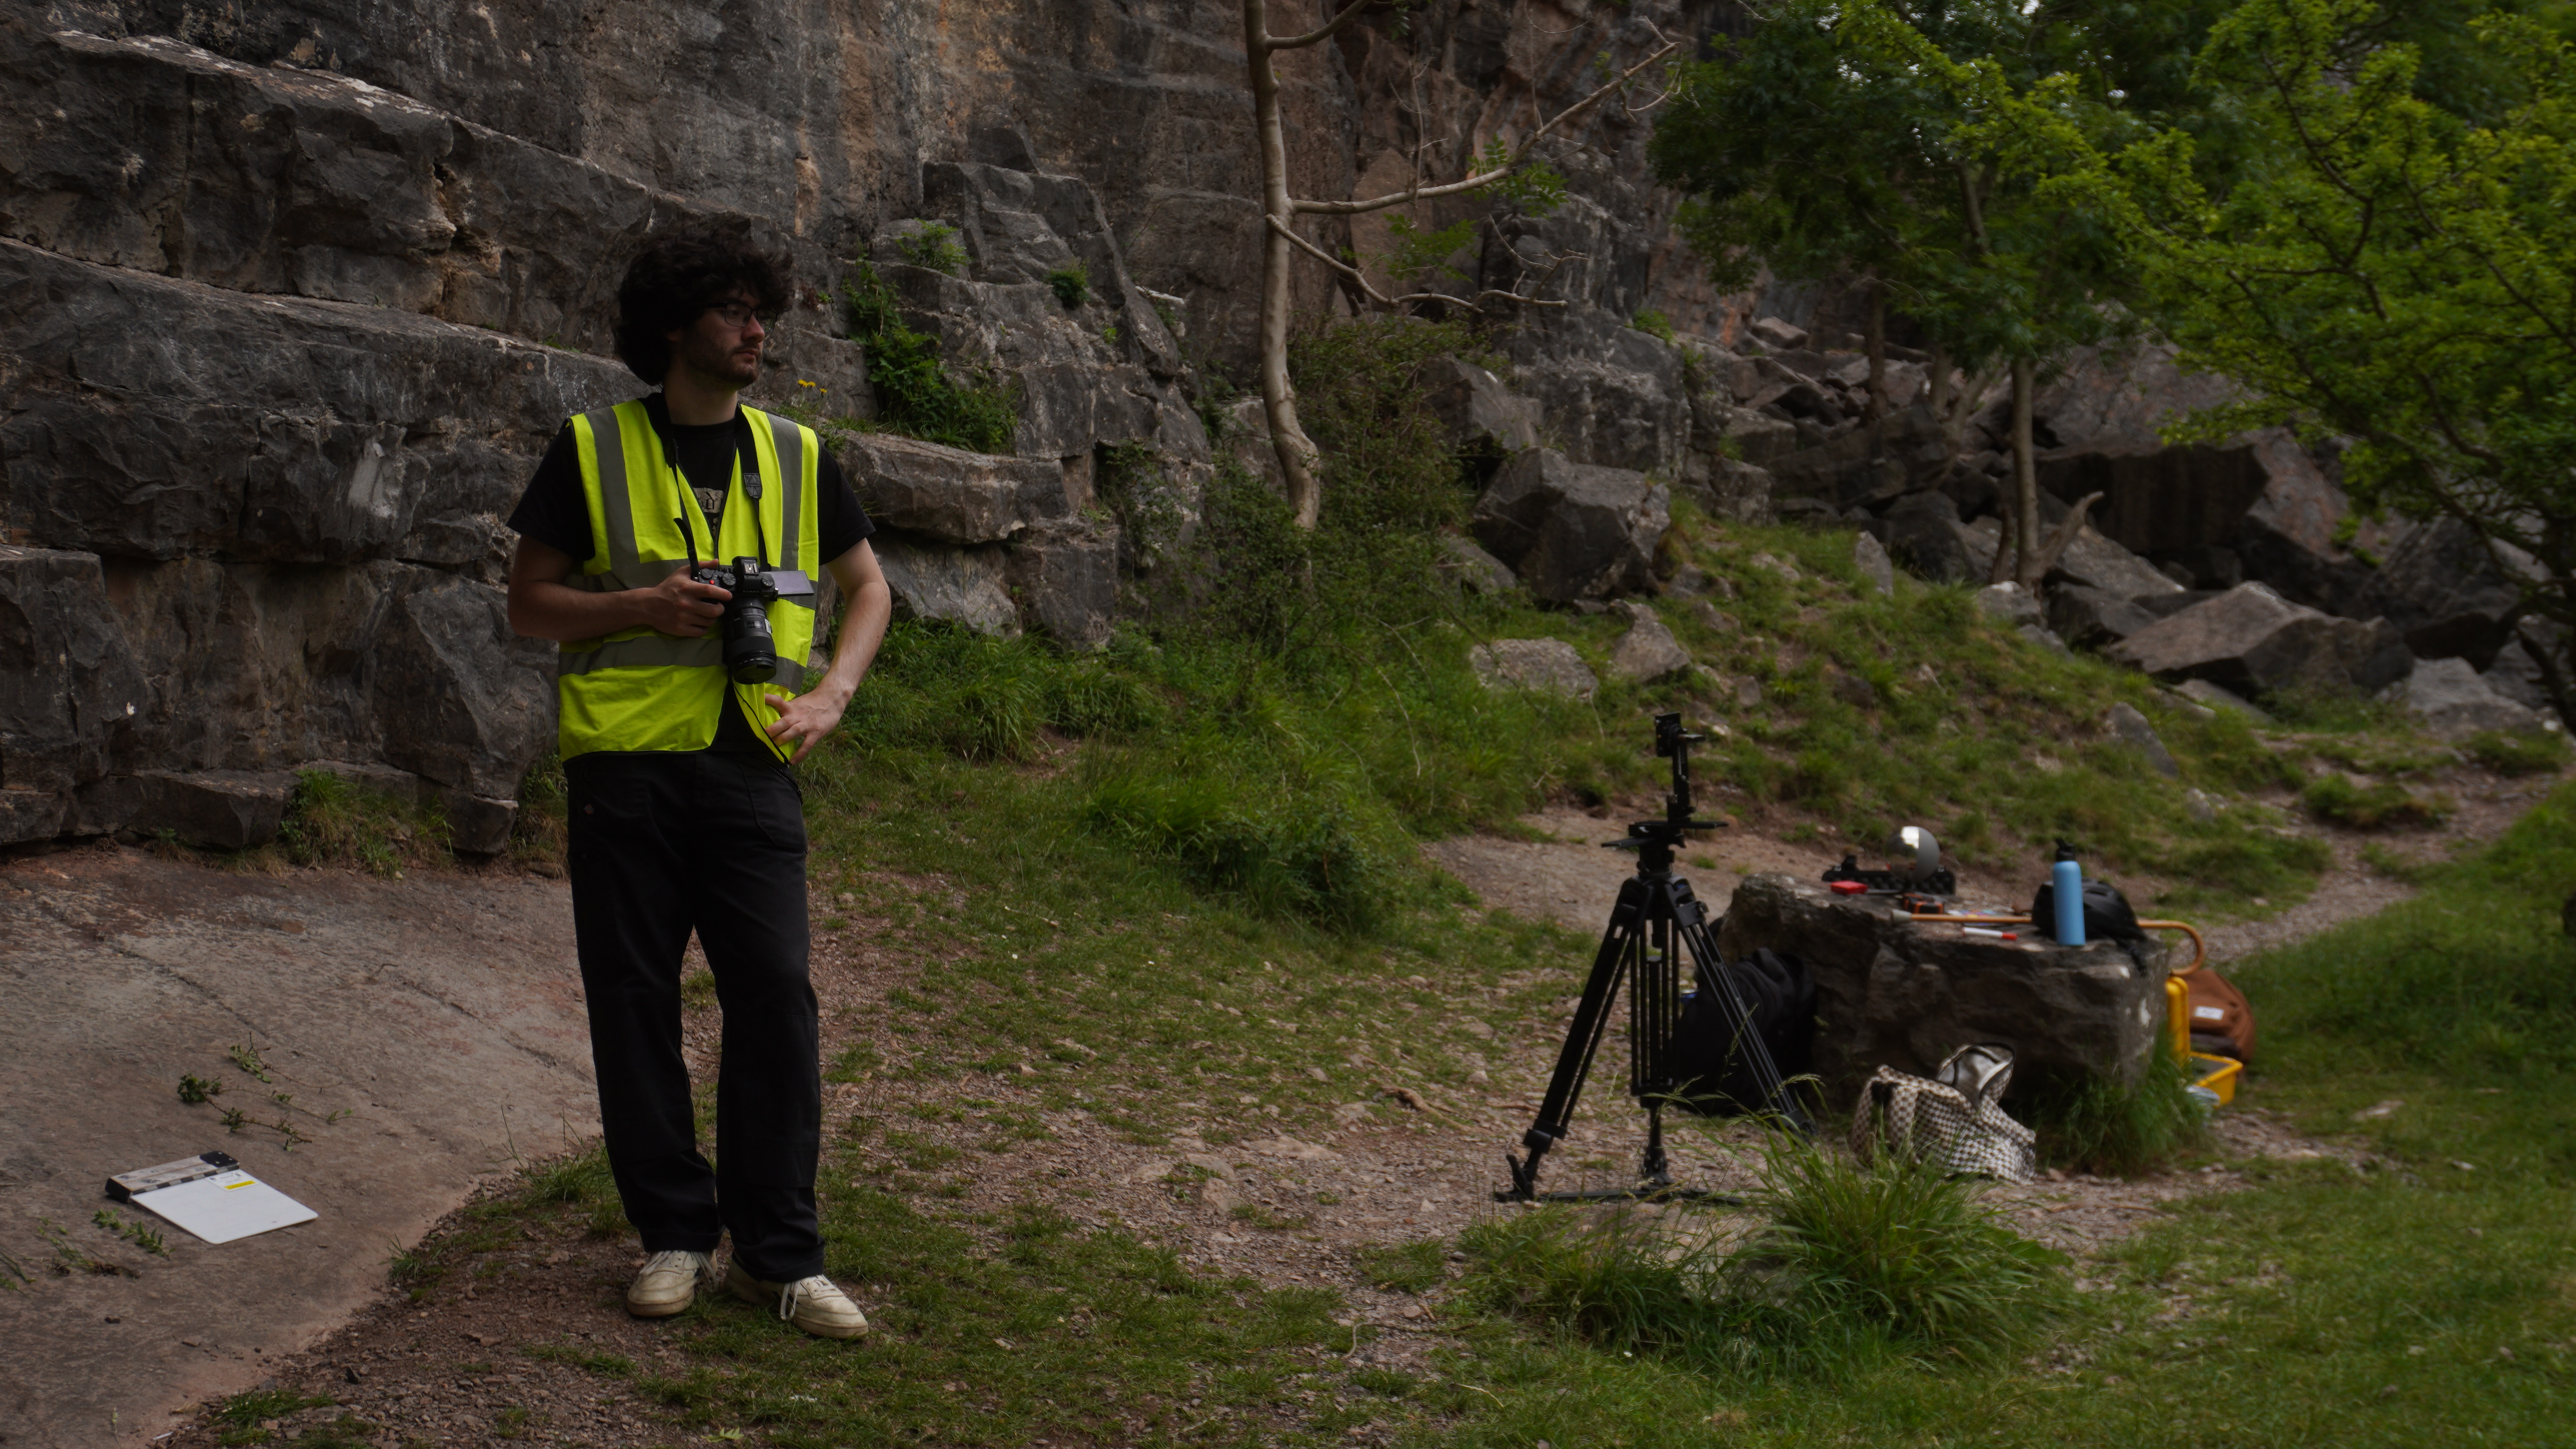
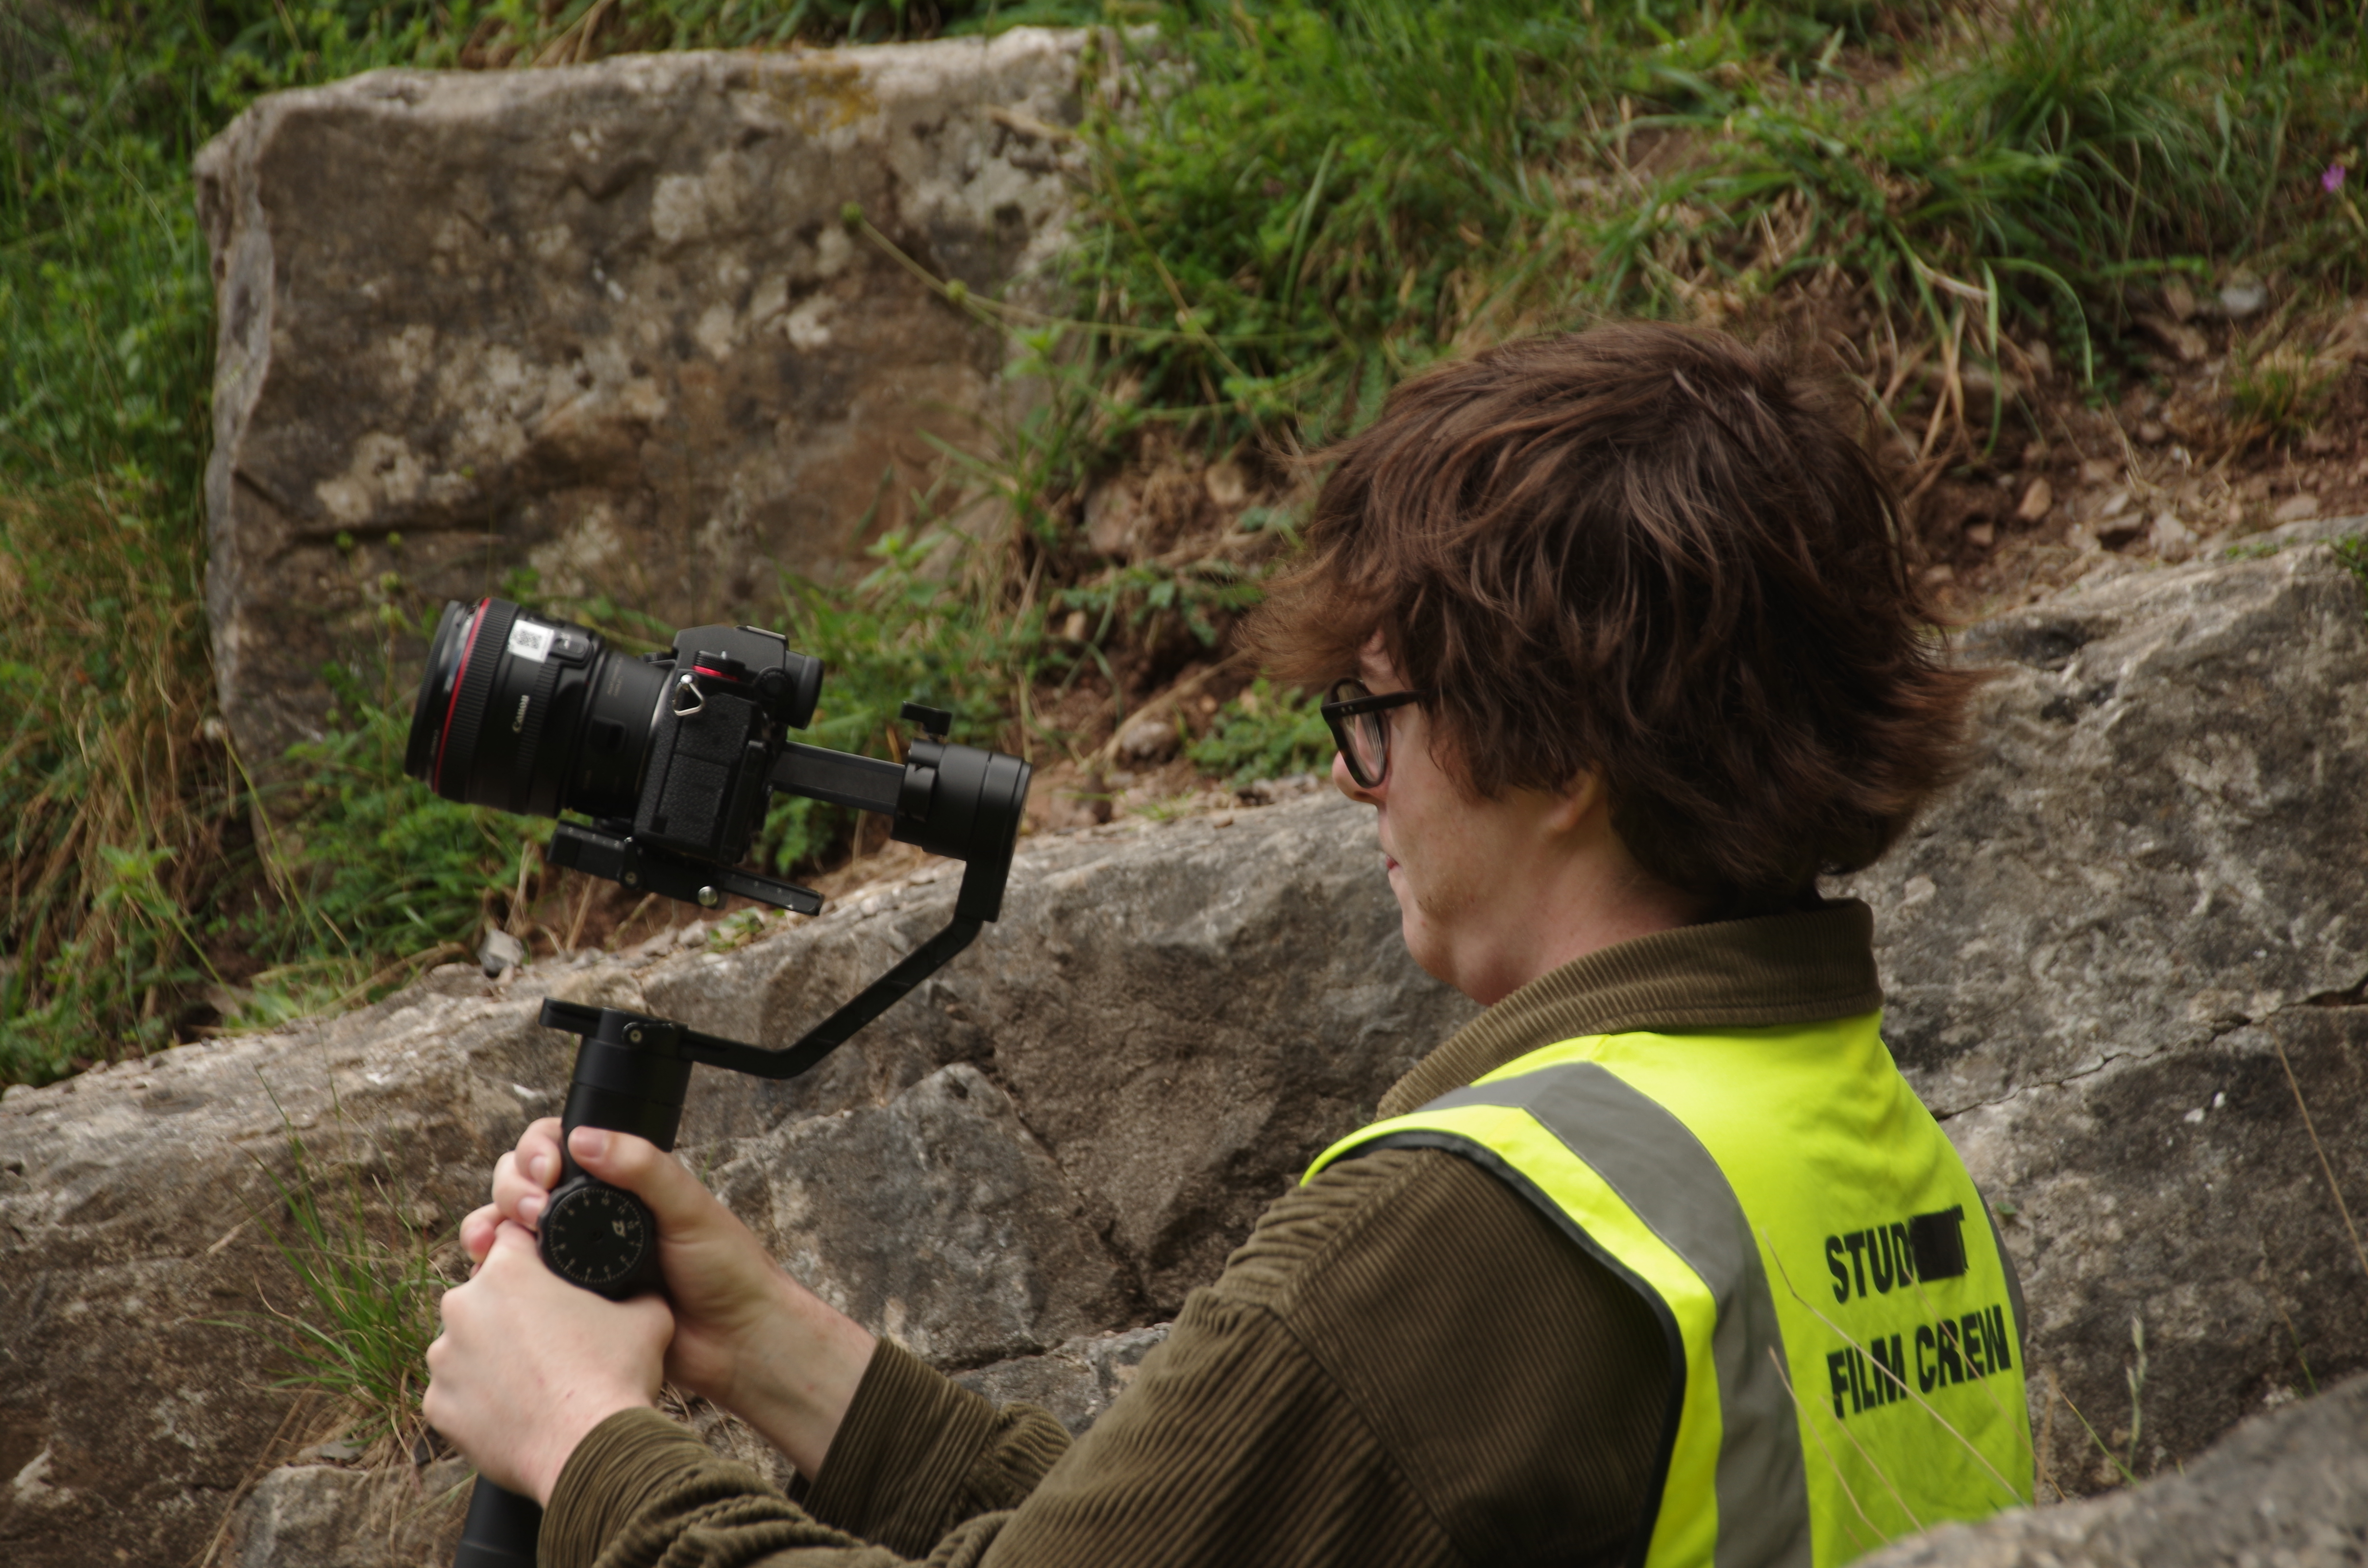
We had Tim and Harvey operating the camera for the shots. Most shots were on the gimbal, with one being off the gimbal.
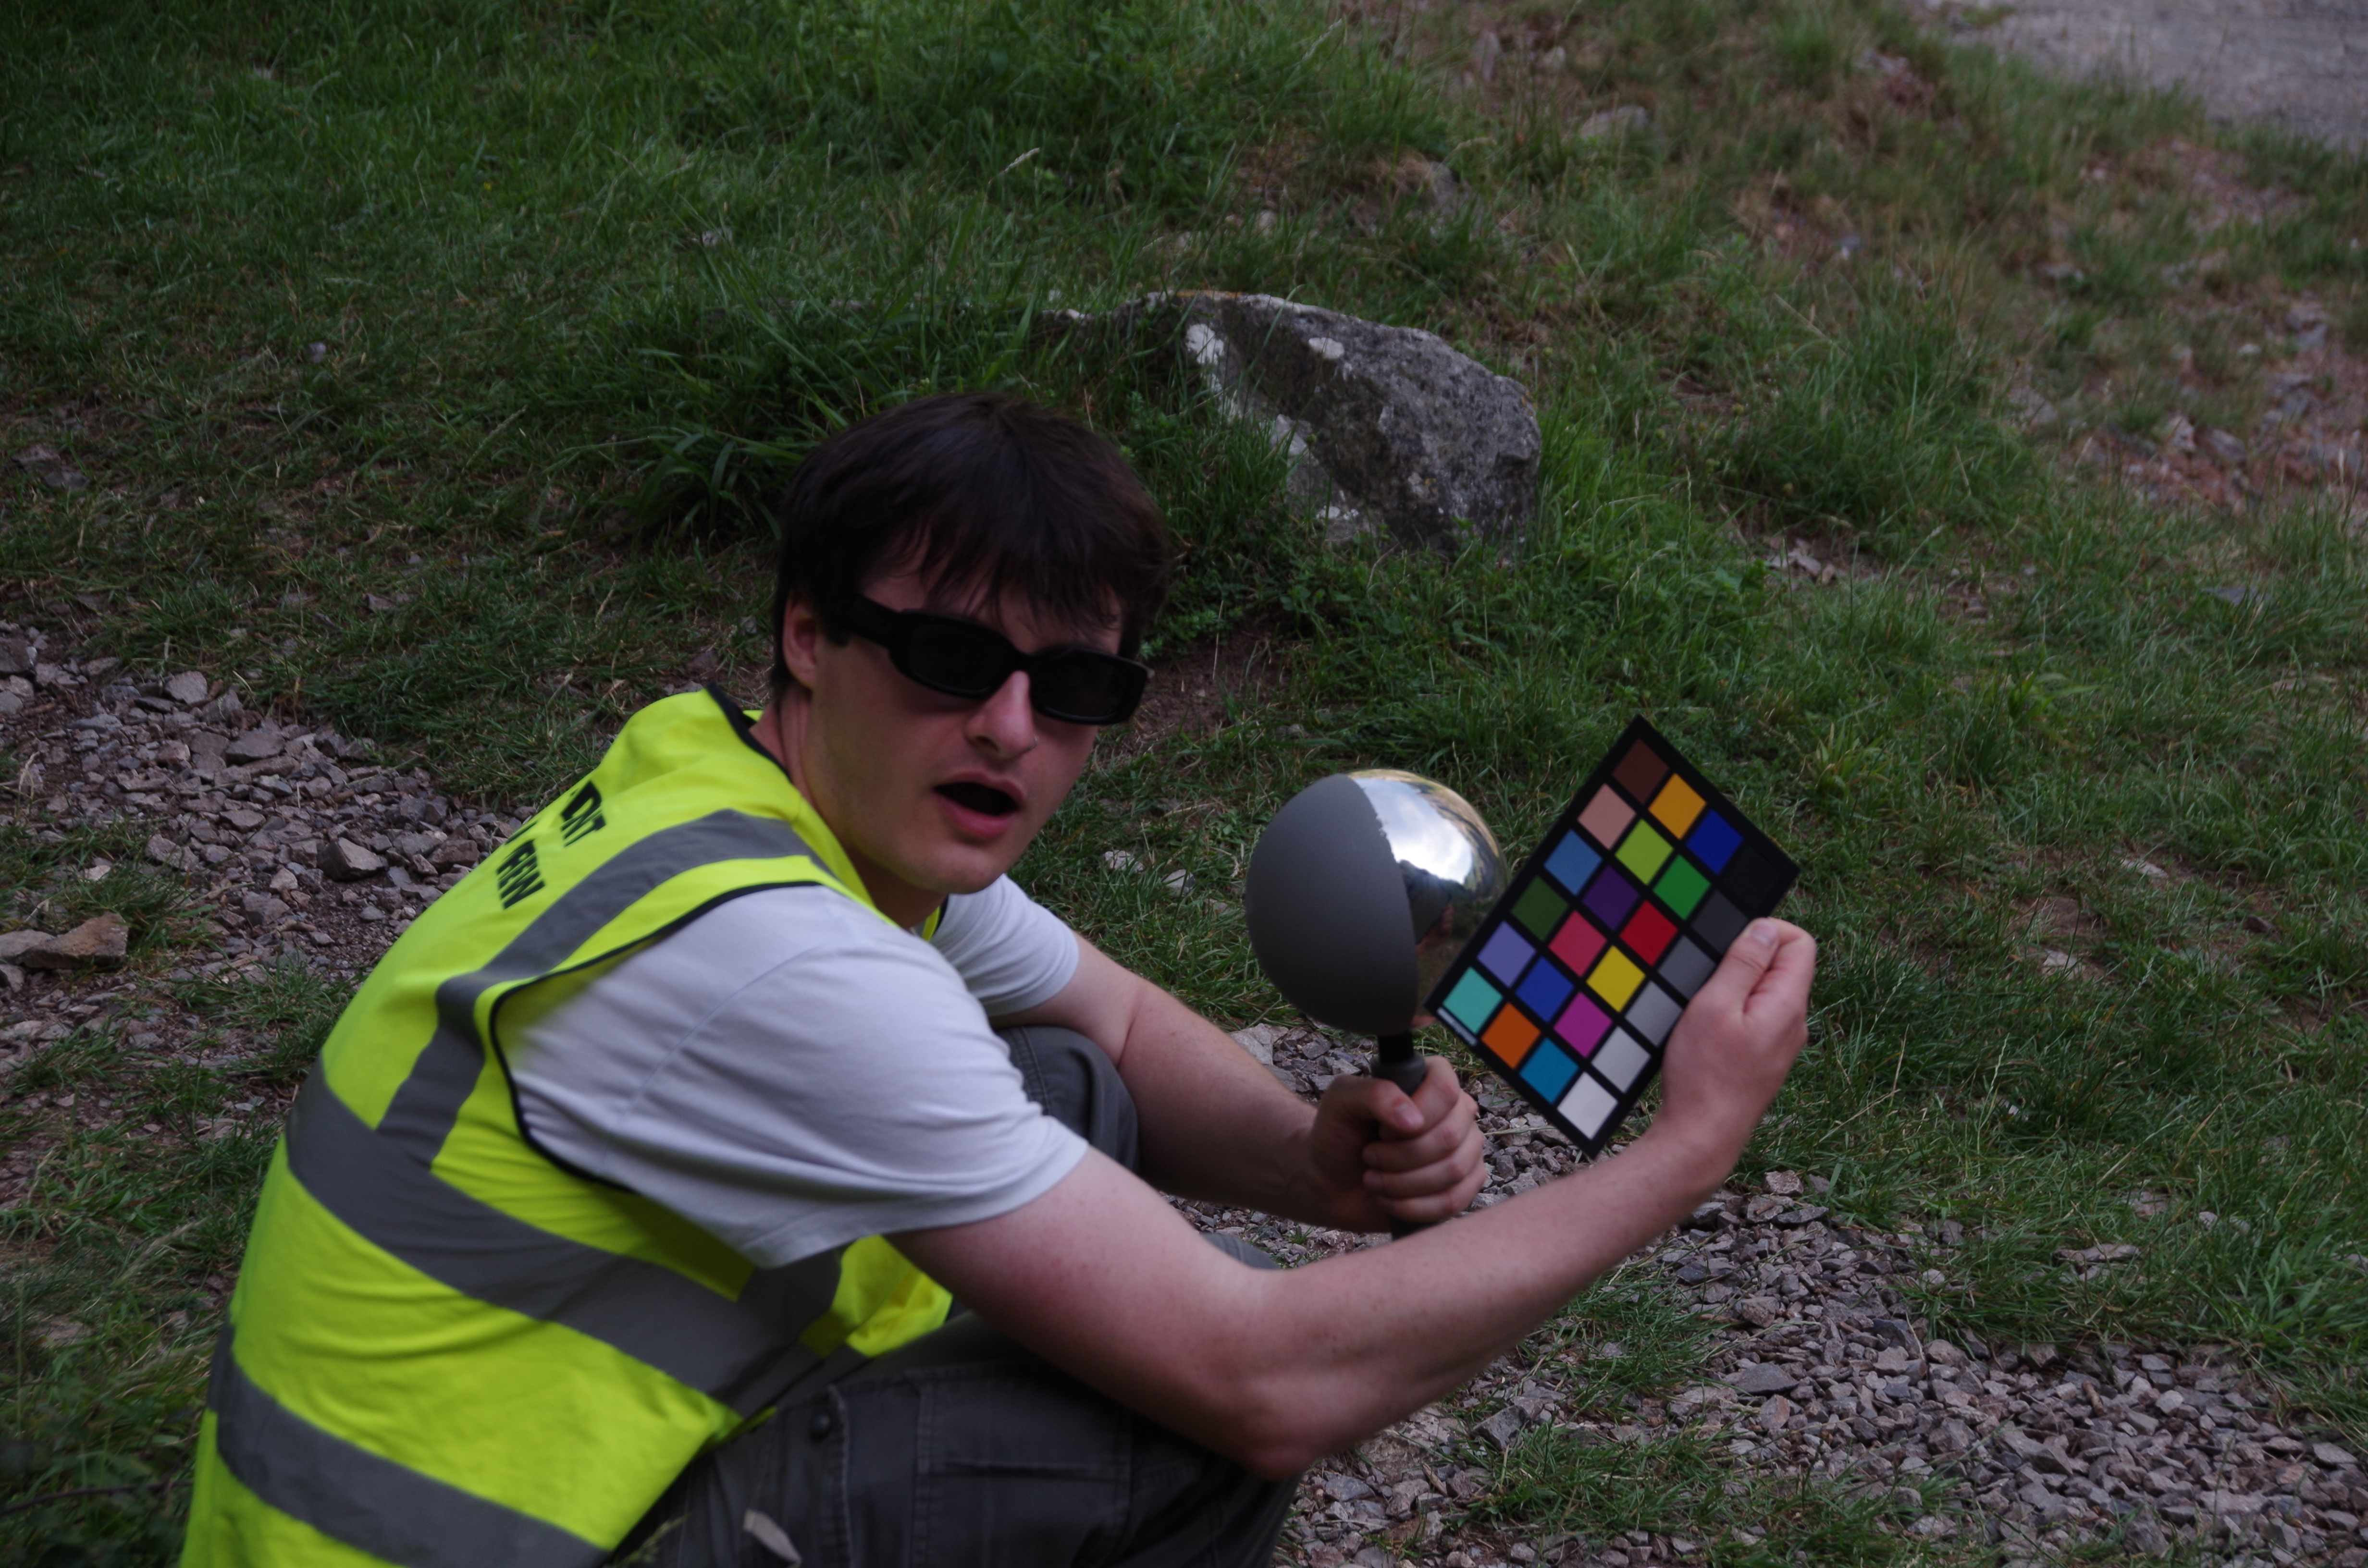
We made sure that every shot started with the clapper, color checker and light probe. This helped us dial in the correct lighting in post-production. The light probe also gave us light reference for intergration. We took multiple HDRI’s after shots and throughout the day to get the different lighting conditions.
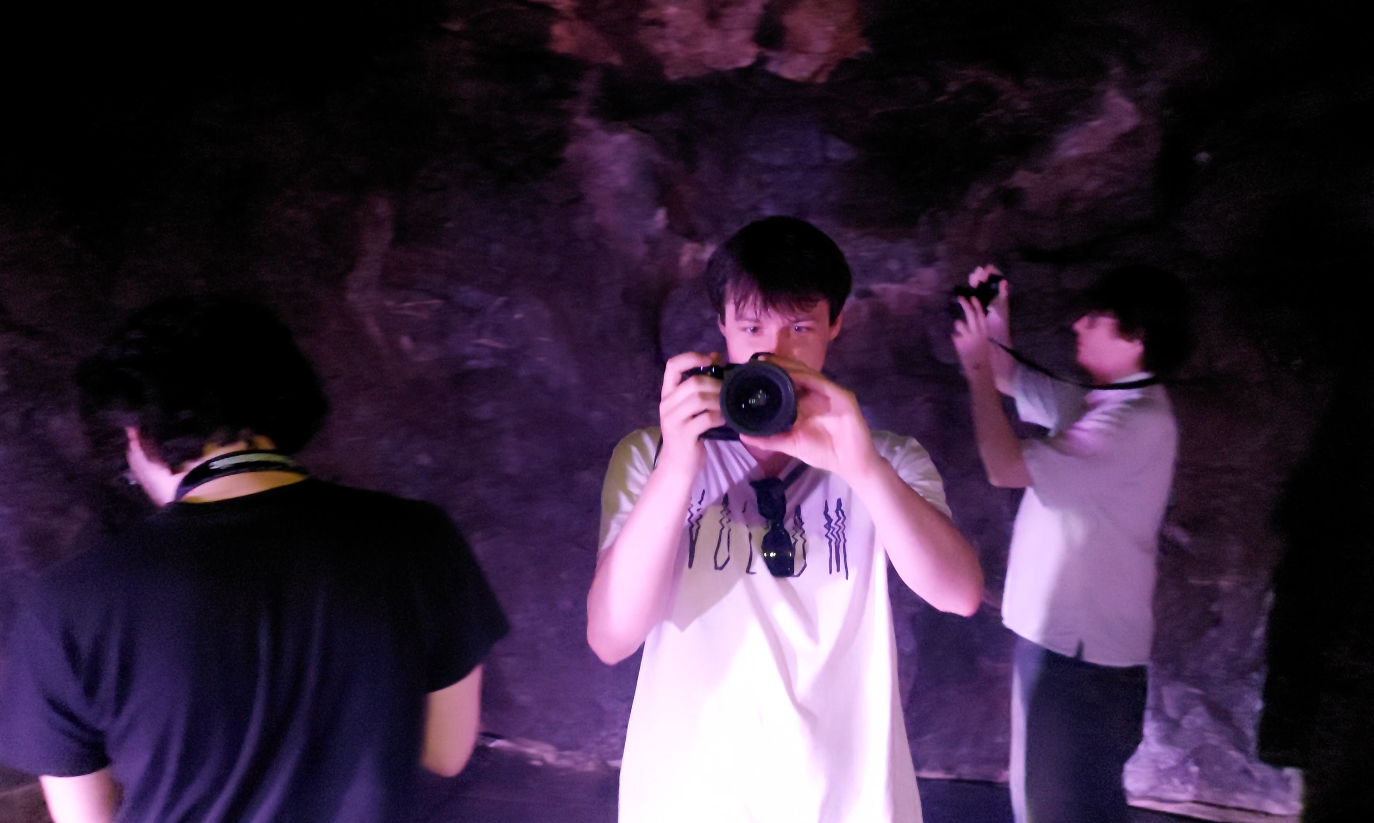
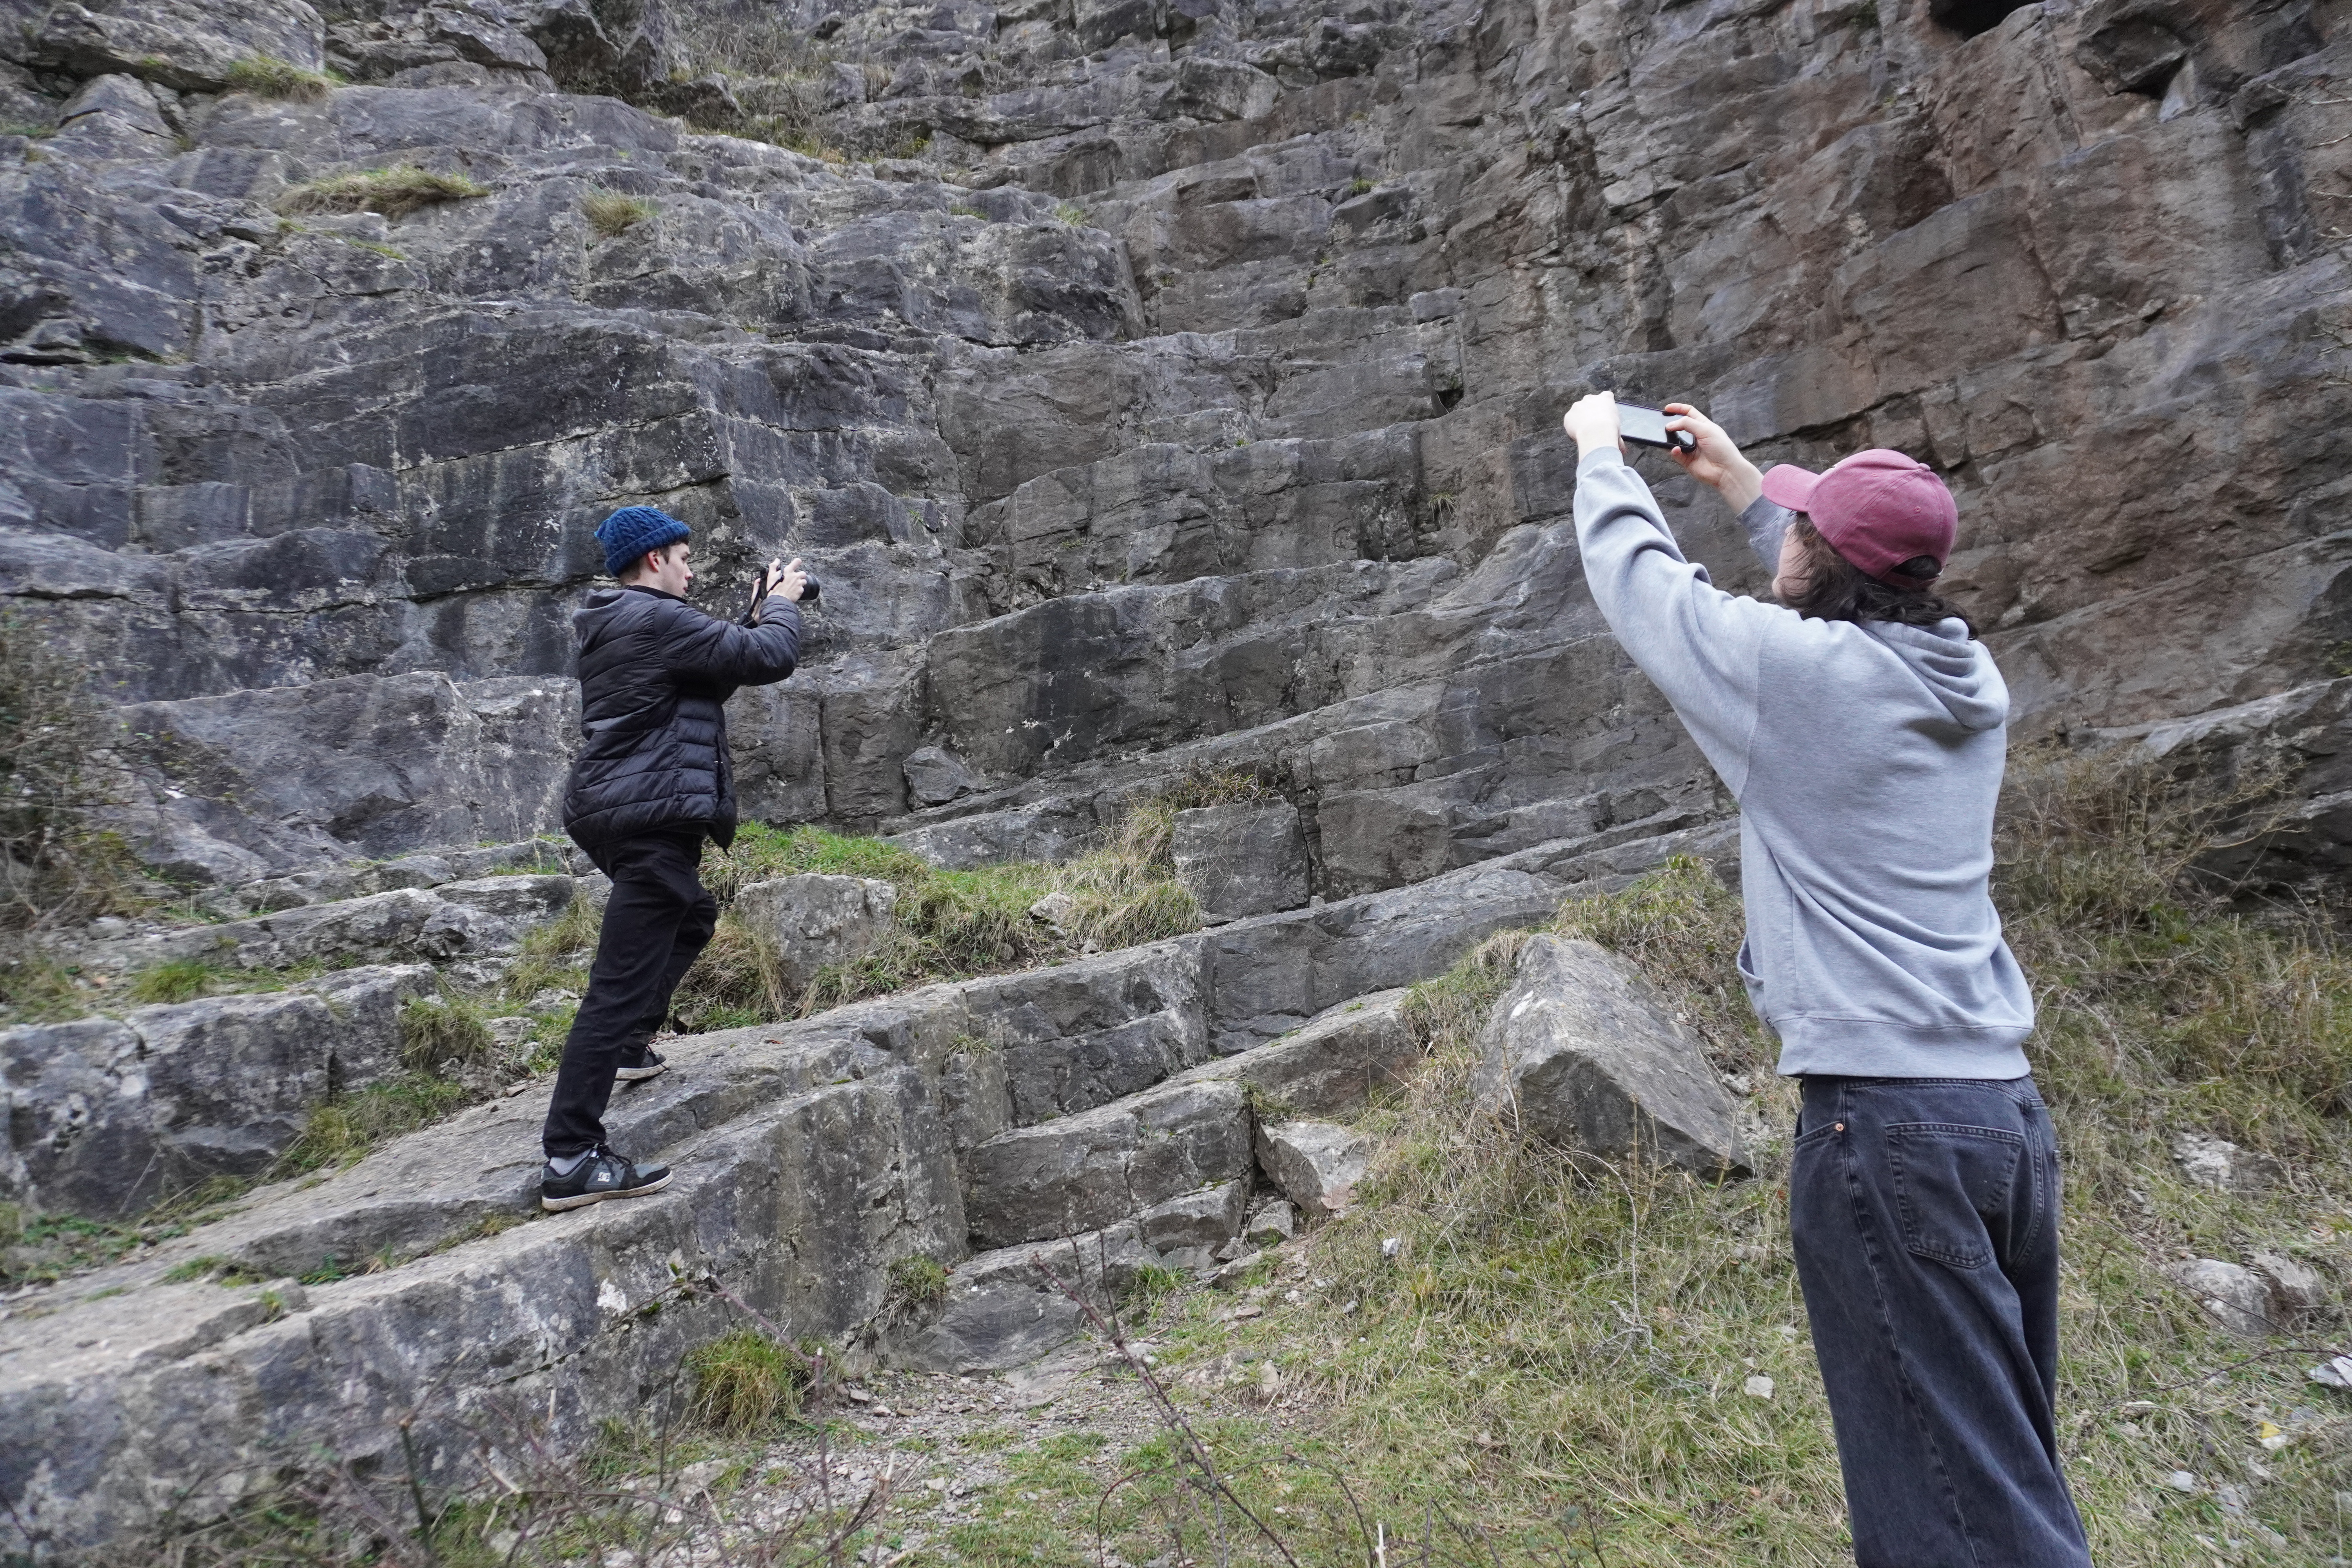
The Caves
On the second day we had time to go into the Cheddar Gorge caves, we spent our time photographing the cave walls, cabling, and whatever would be good reference for creating a CG cave.